3d Printing News — Large Scale 3D Printing - Cosine

Cosine Additive

US Marines Mobilize 3D Printing with Cosine

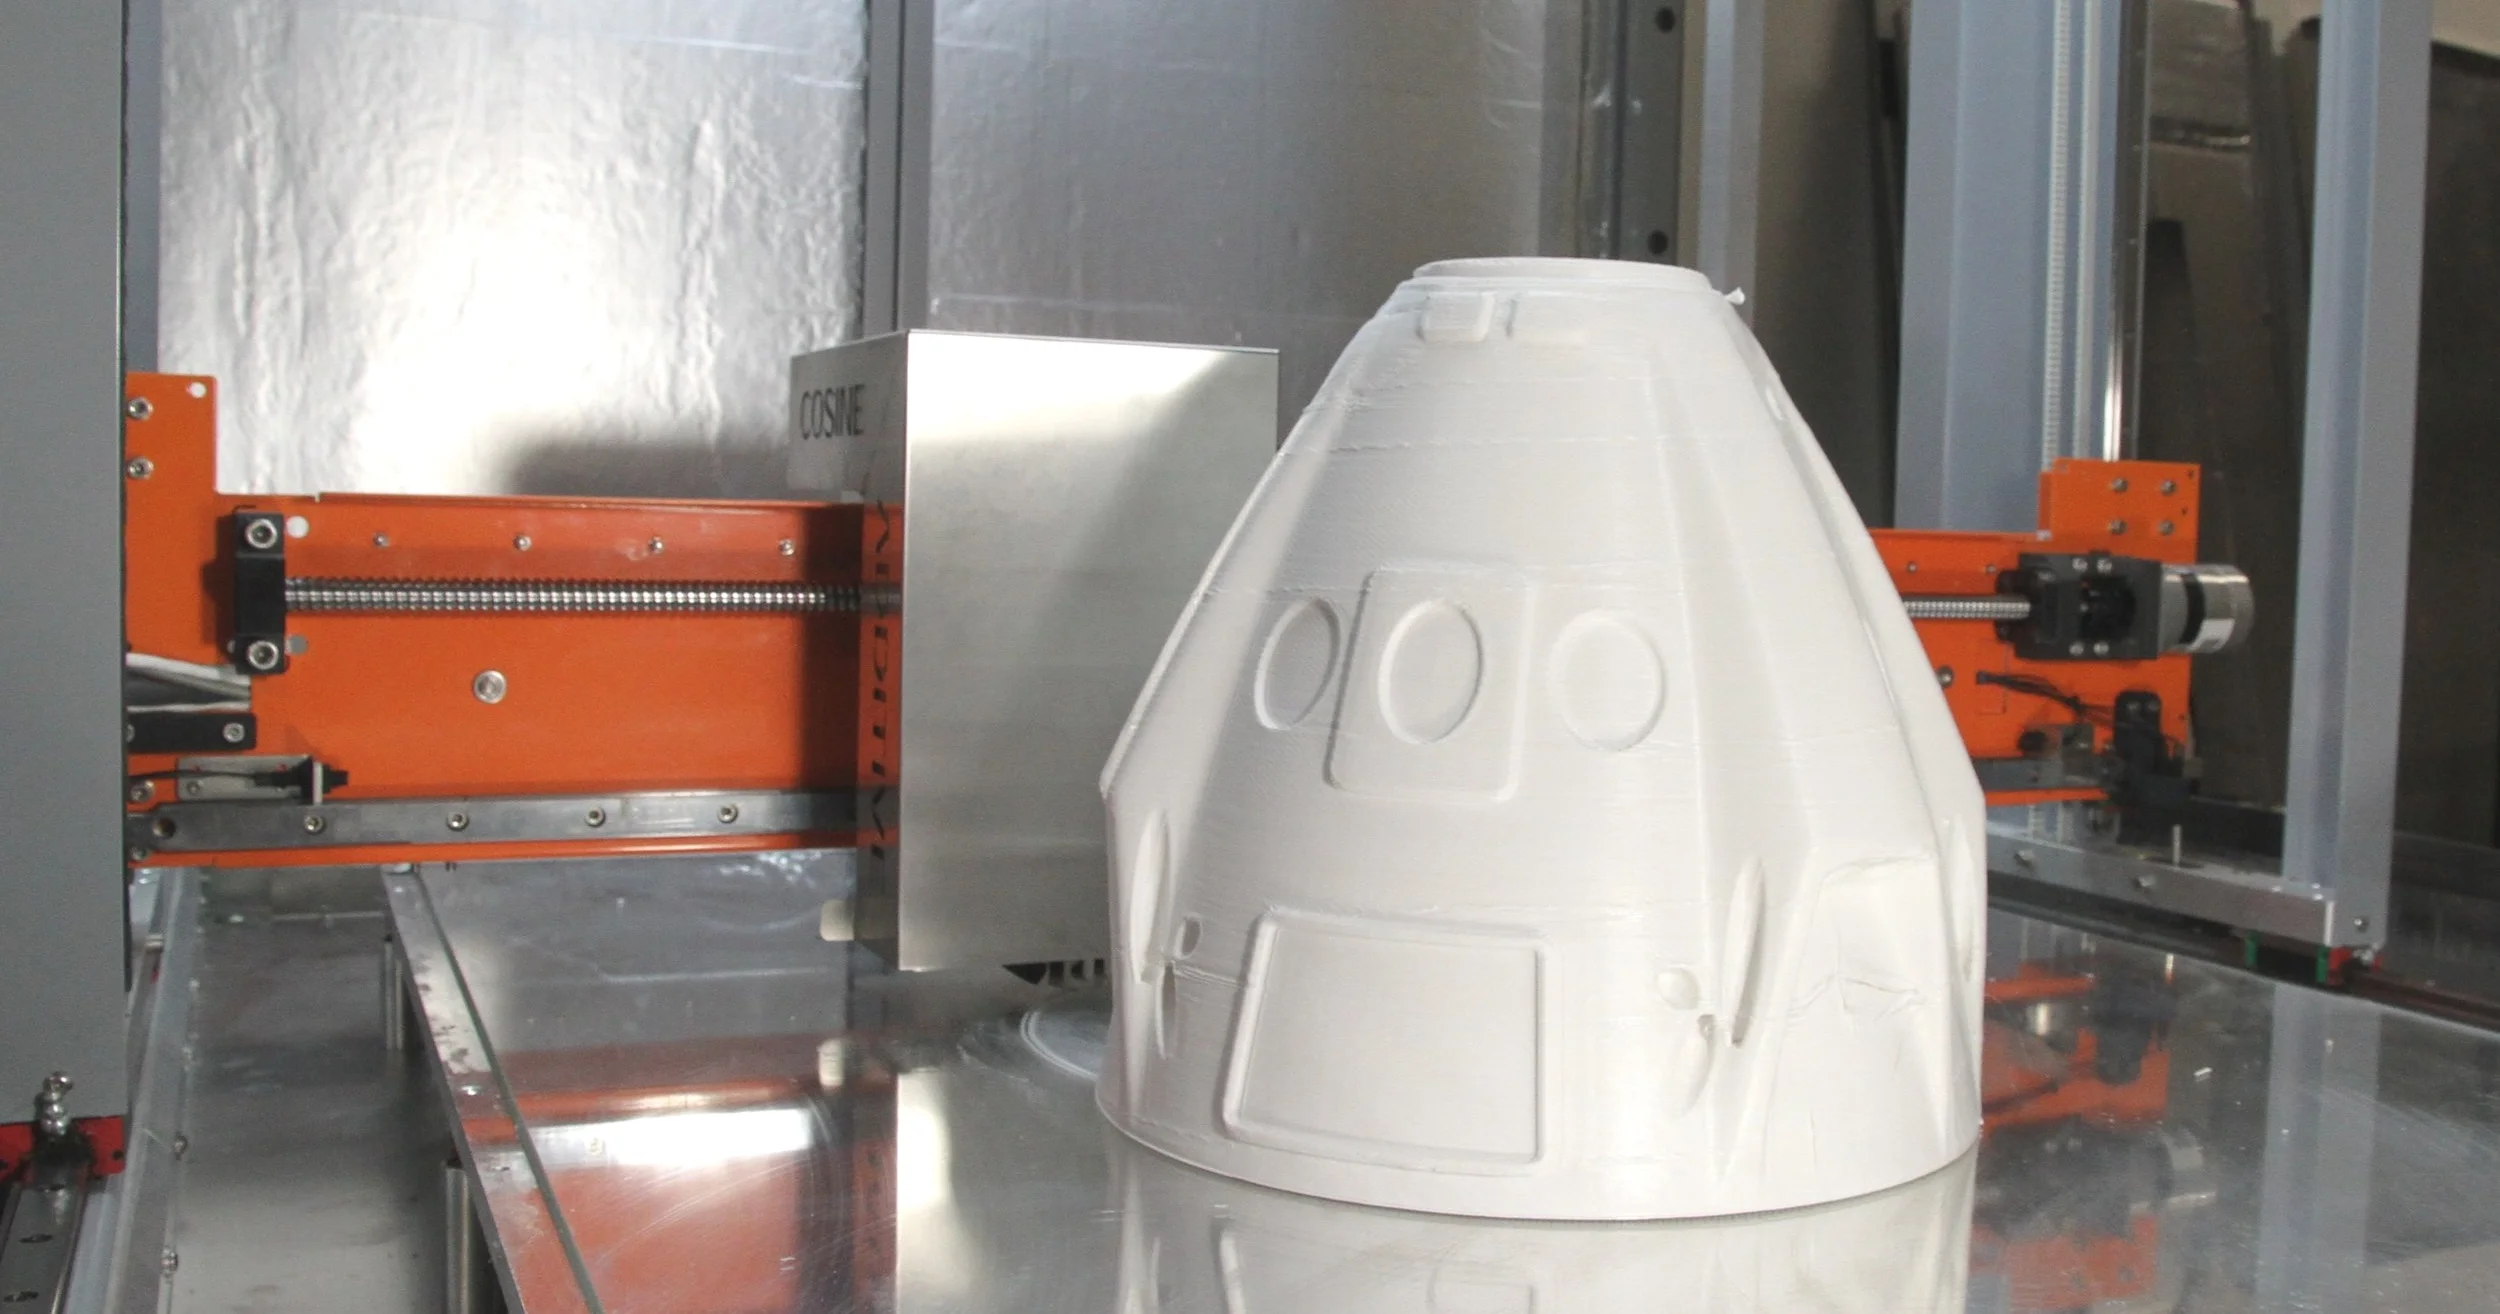
Cosine Additive supports the Armed Forces and when the Marines contacted us, we were ready for duty. The US Marine Corps are currently pursuing a project called X-FAB and the AM1 Industrial 3D Printer of Cosine is the core of their project.

A year ago, the Marines came to Cosine with one mission, knowing that we’re the solution.

XFAB_Photo4_wLogo.jpg

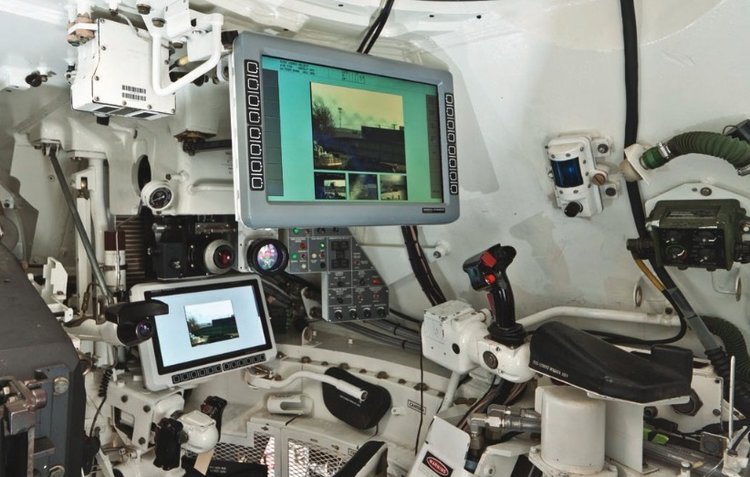
During their latest deployment in Afghanistan, they had a problem with one combat vehicle. The mount of the screen that helps the gunner to aim the main gun broke during operations, and no amount of duct tape was able to solve the problem. Without that screen, the weapon systems of the vehicle were inoperable, severely reducing the combat efficiency of that unit in case they encounter a Taliban ambush.

ECP1.jpg

They ordered a new frame, but it took one week for the logistics command to process the order, another week of the company in the US to make the frame, another one to ship the frame to Afghanistan, and once in Afghanistan it took them TWO WEEKS to receive the frame on the Forward Operations Base (FOB).

By that time, the Marines had finished their deployment and were stationed in Japan.

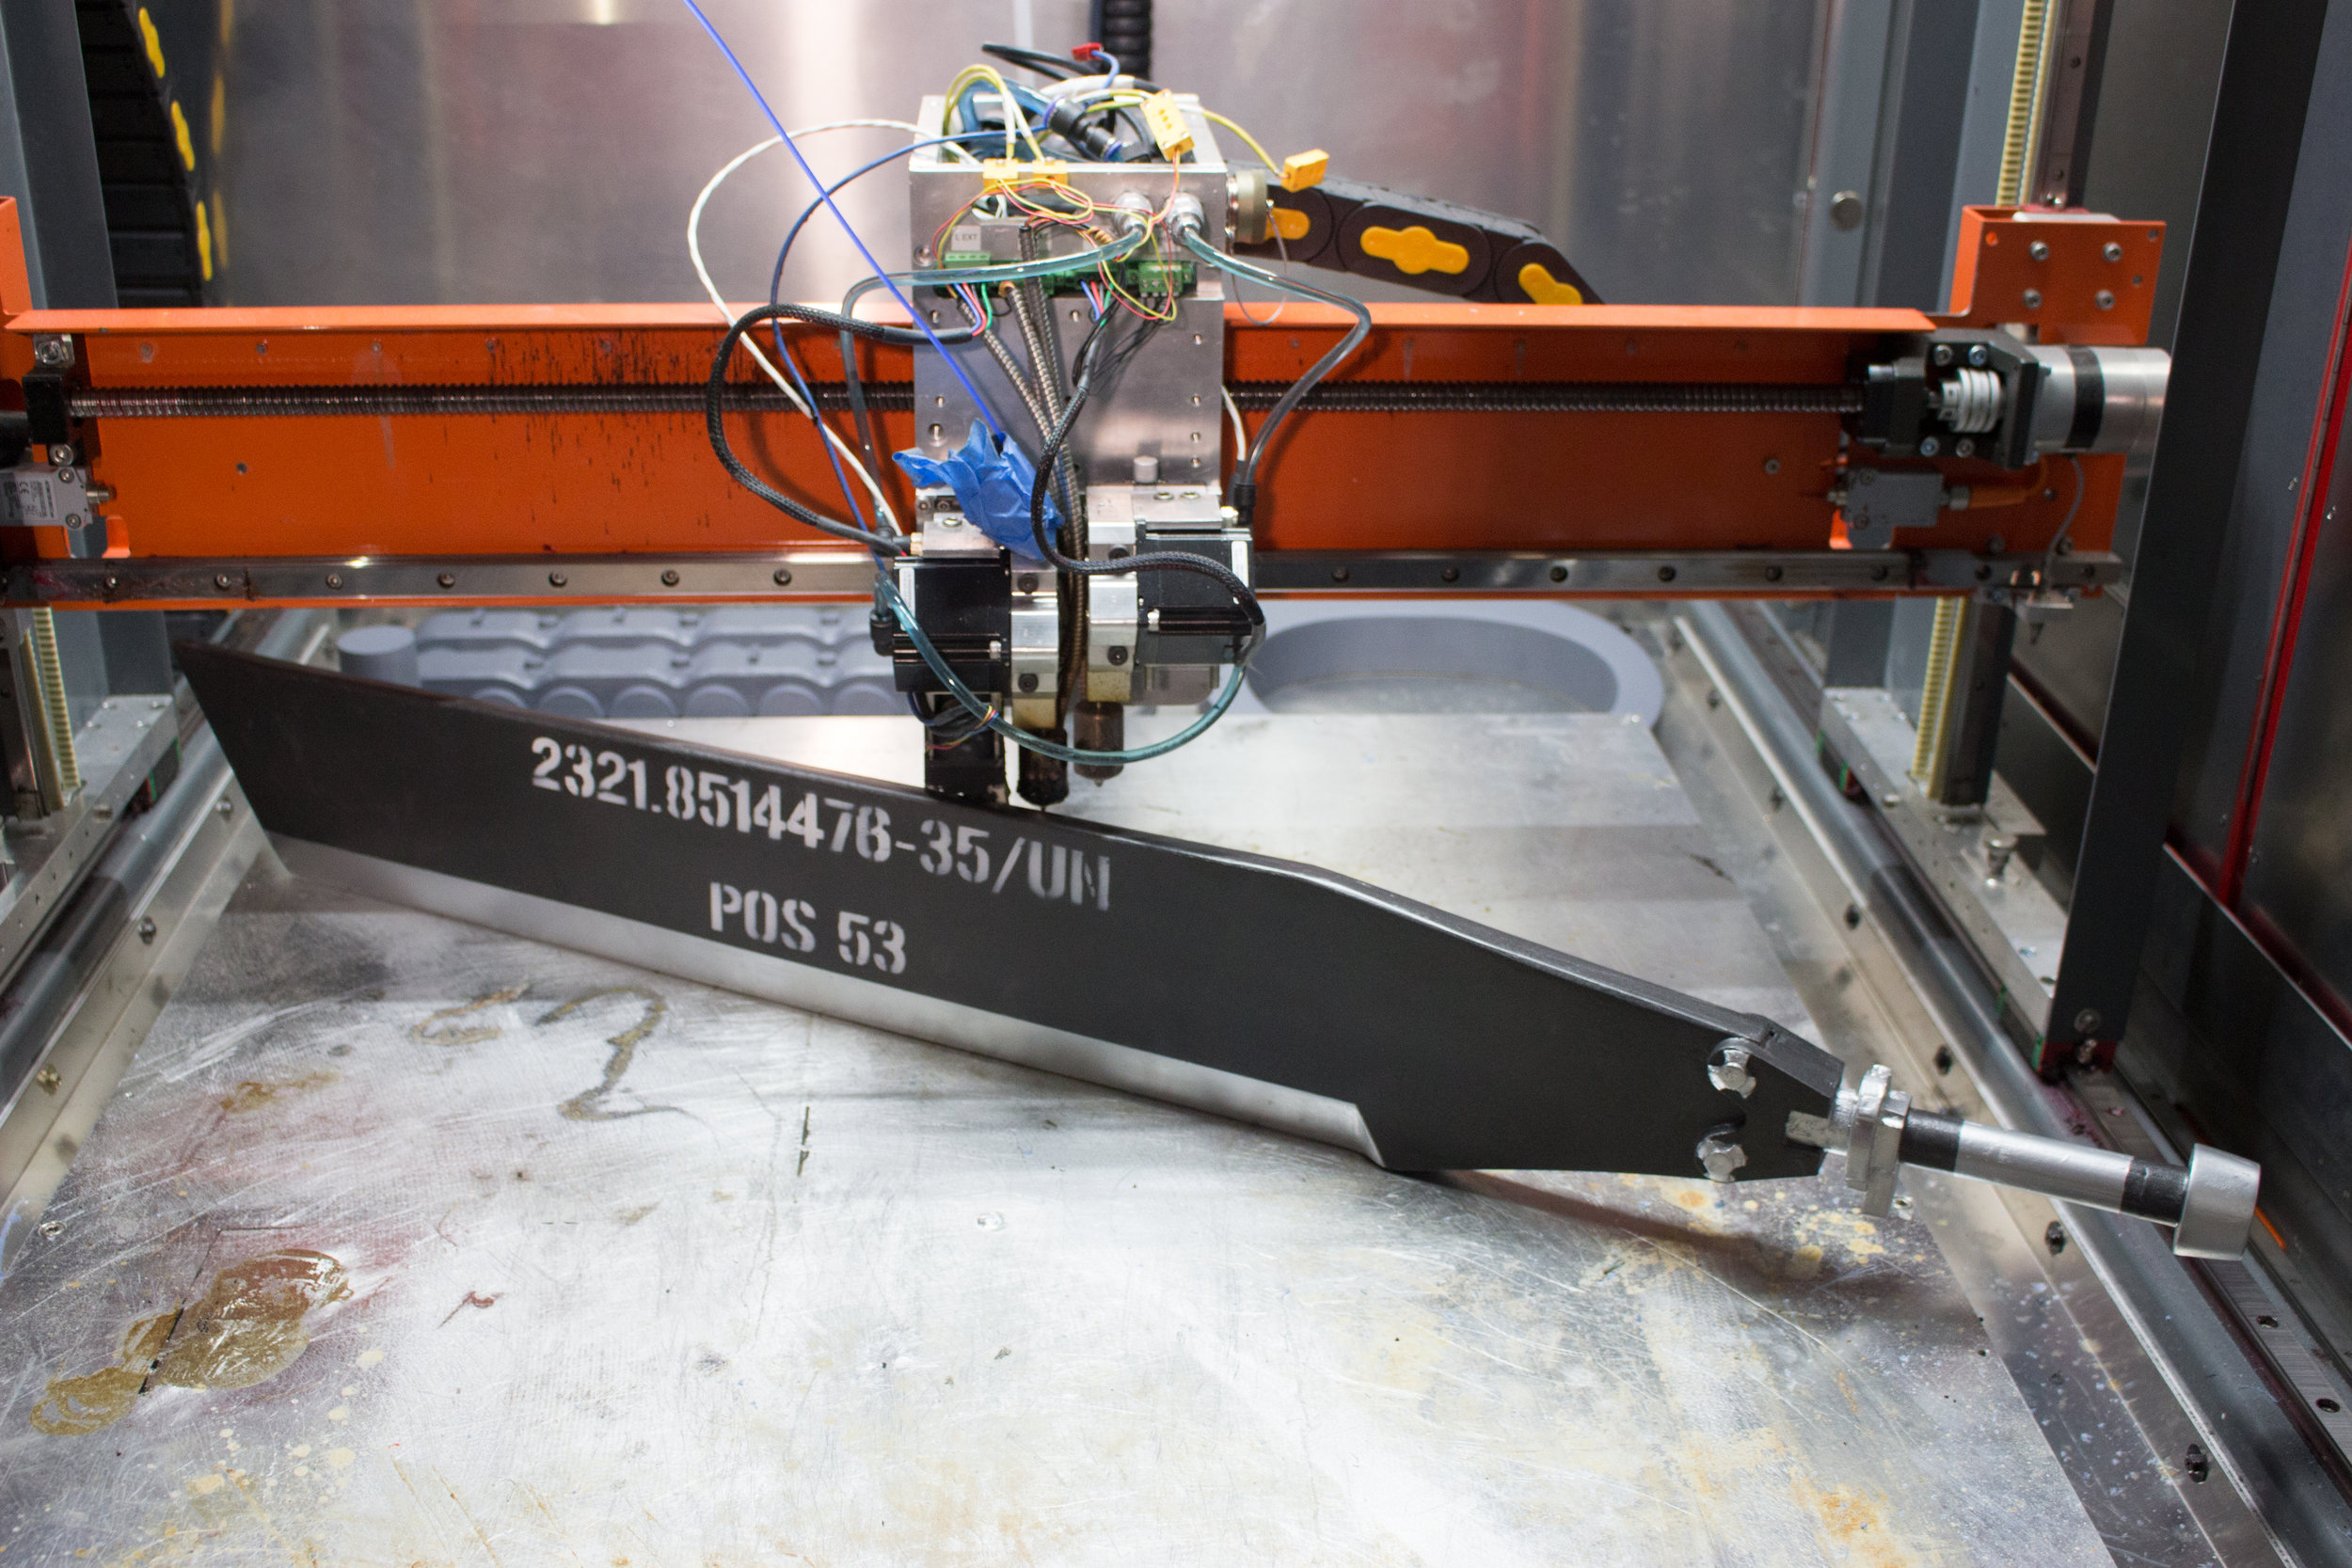
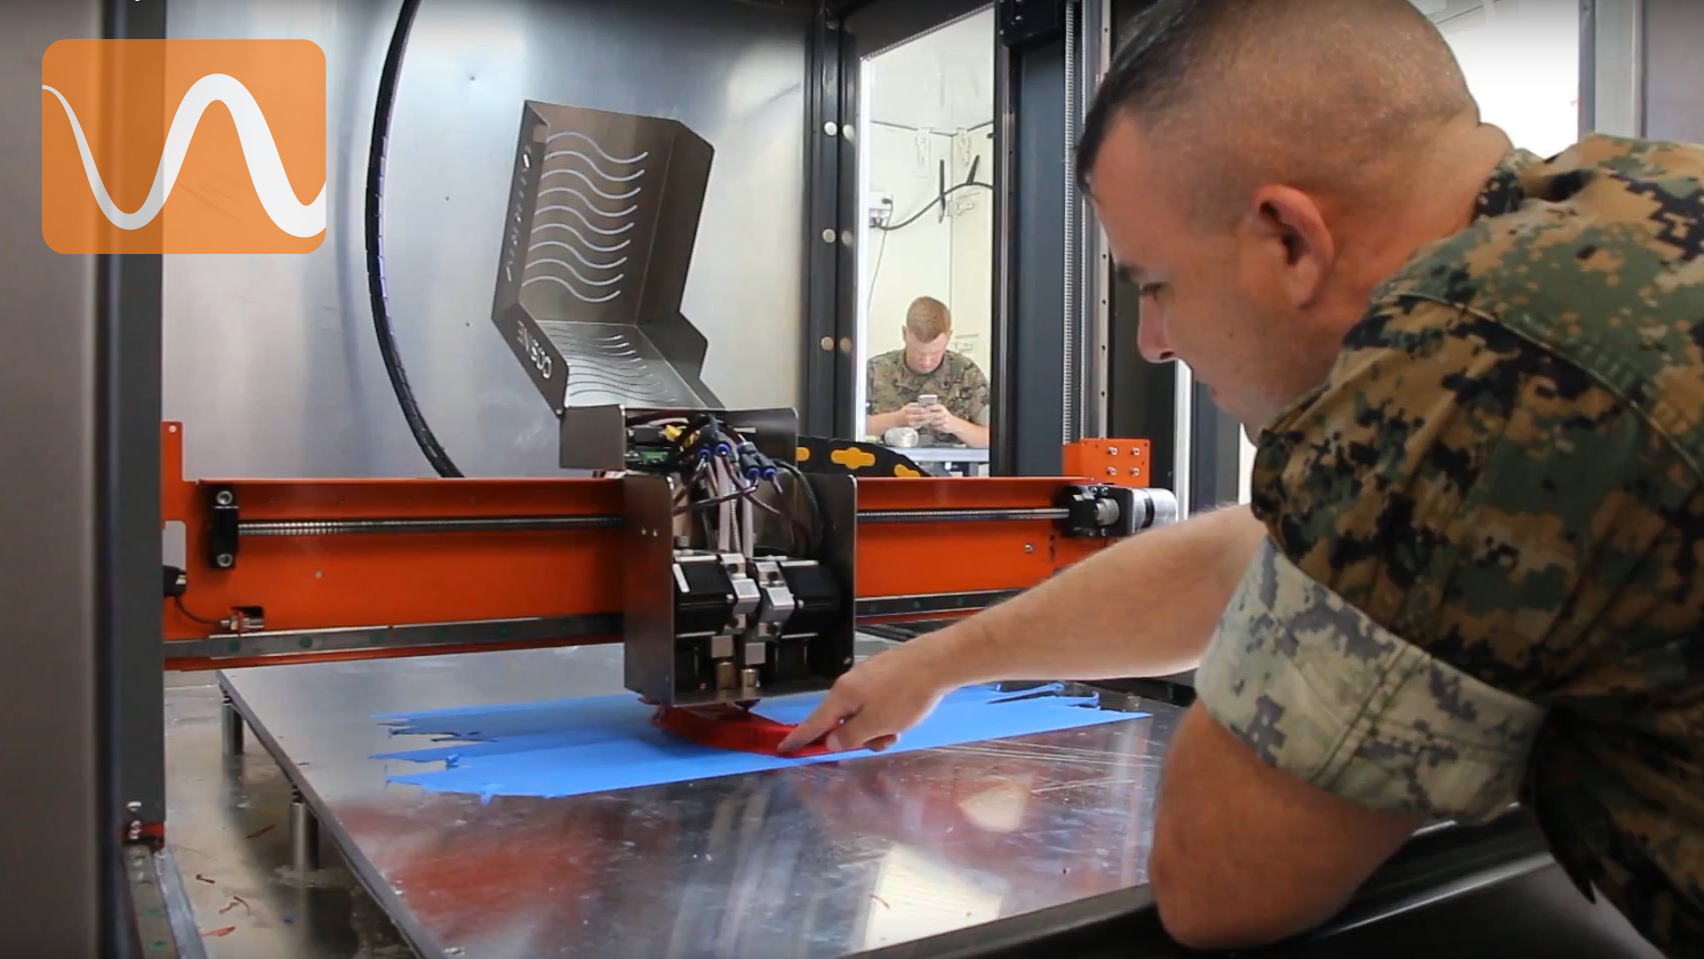
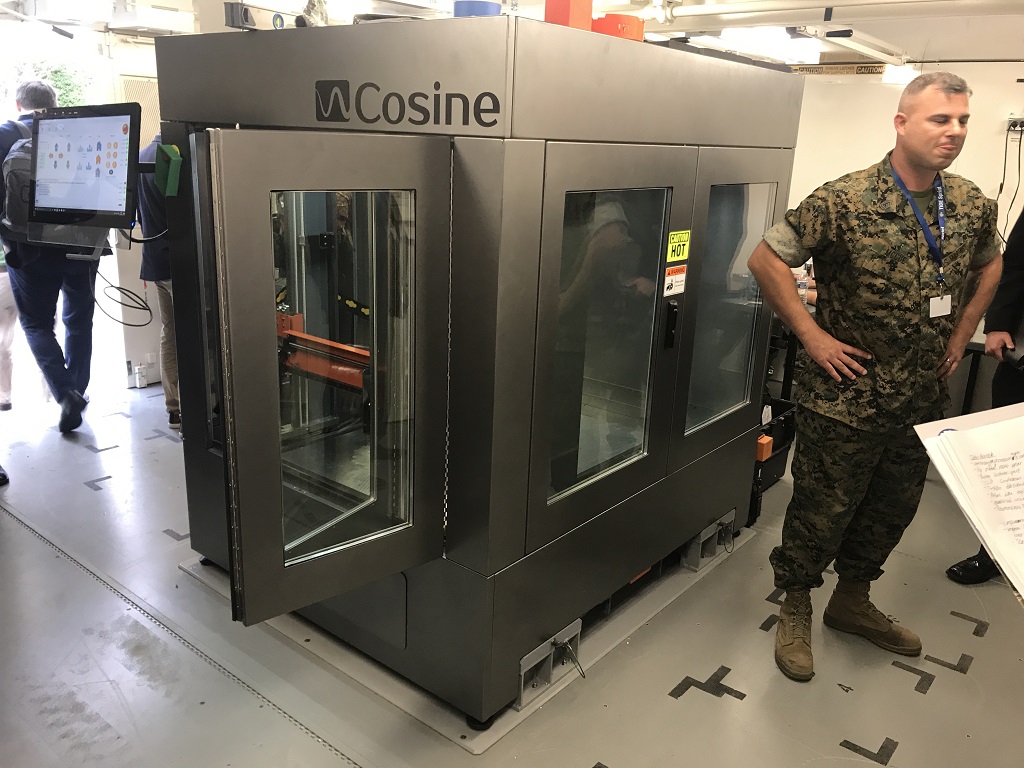
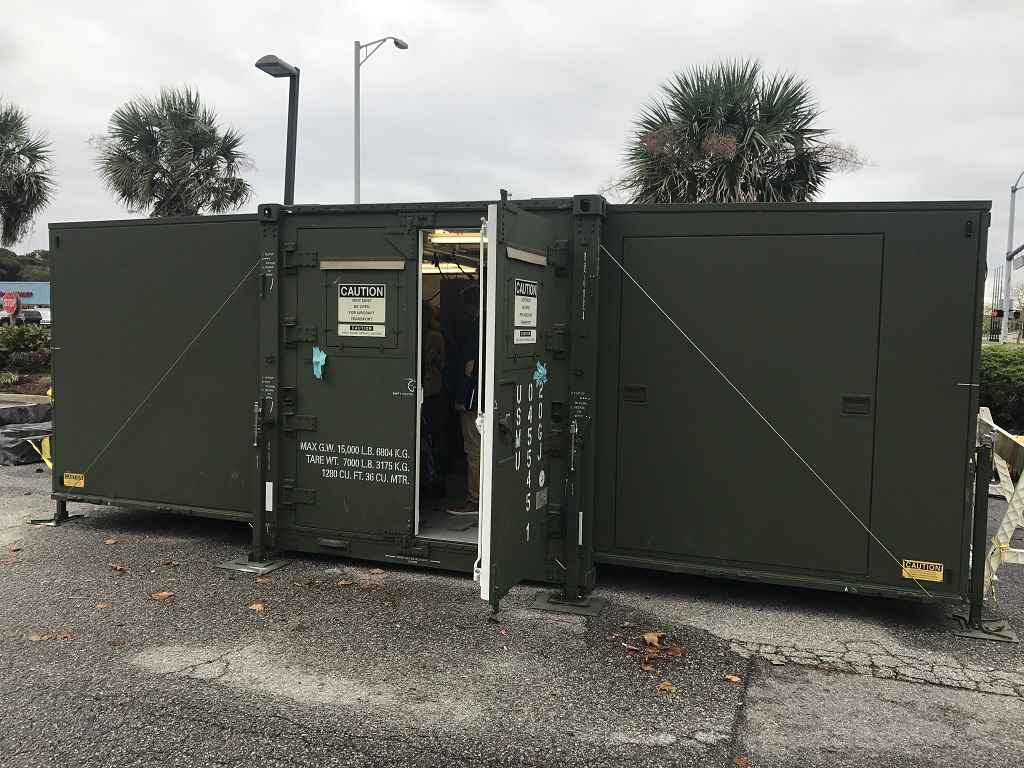
We helped our fellow Marines by sending them their own AM1 XL 3D printer to be used in their mobile manufacturing unit. Finally, the Marines can use this large 3D printer to give them the quick repairs that they need in the battlefield… and FAST.

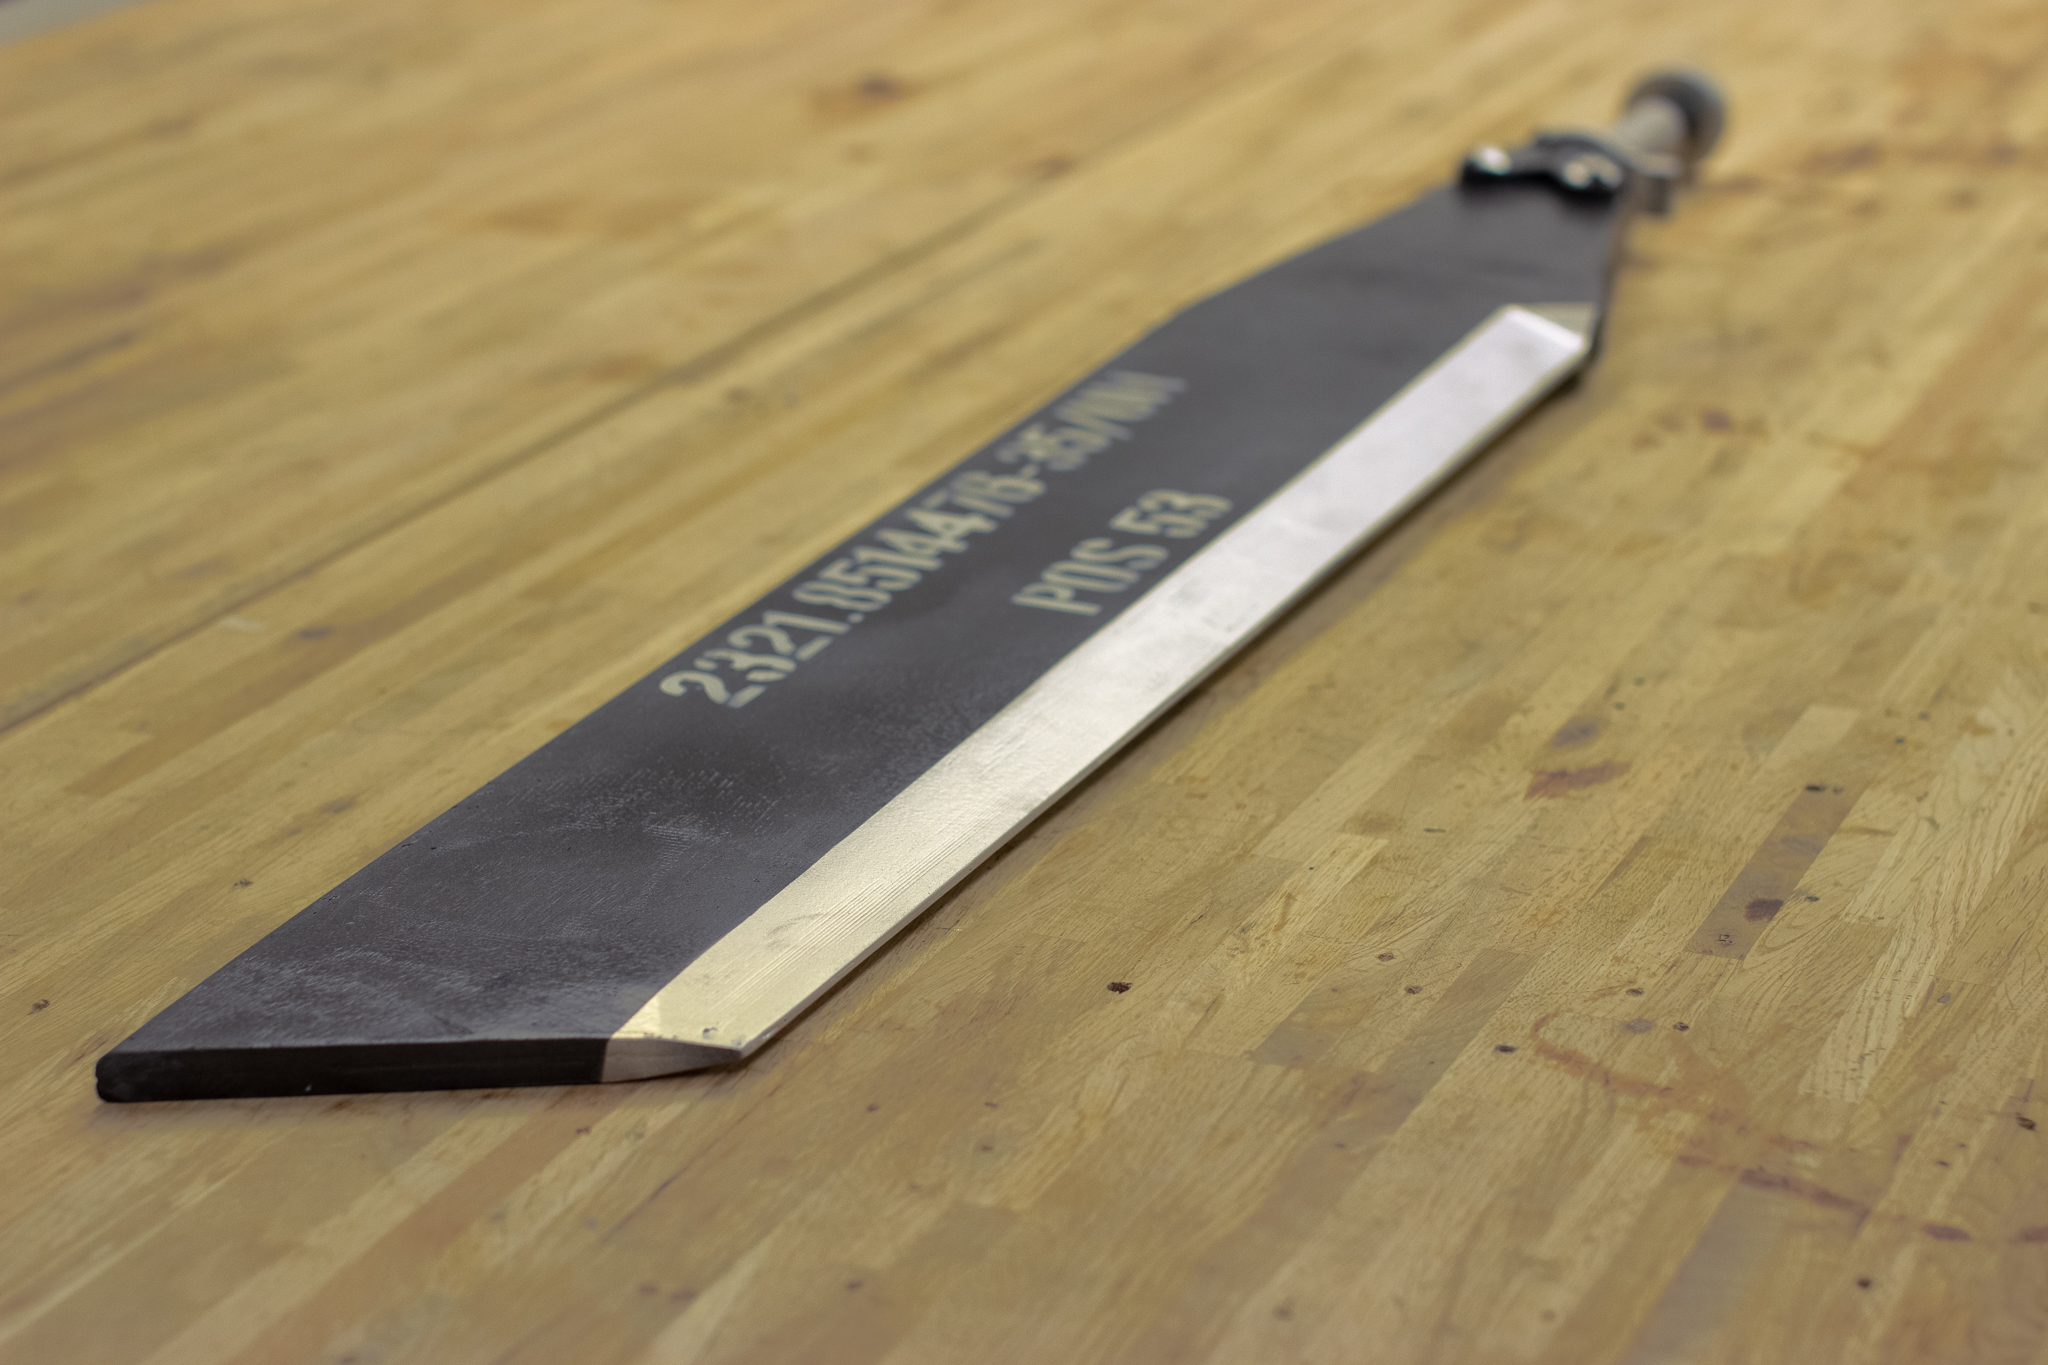
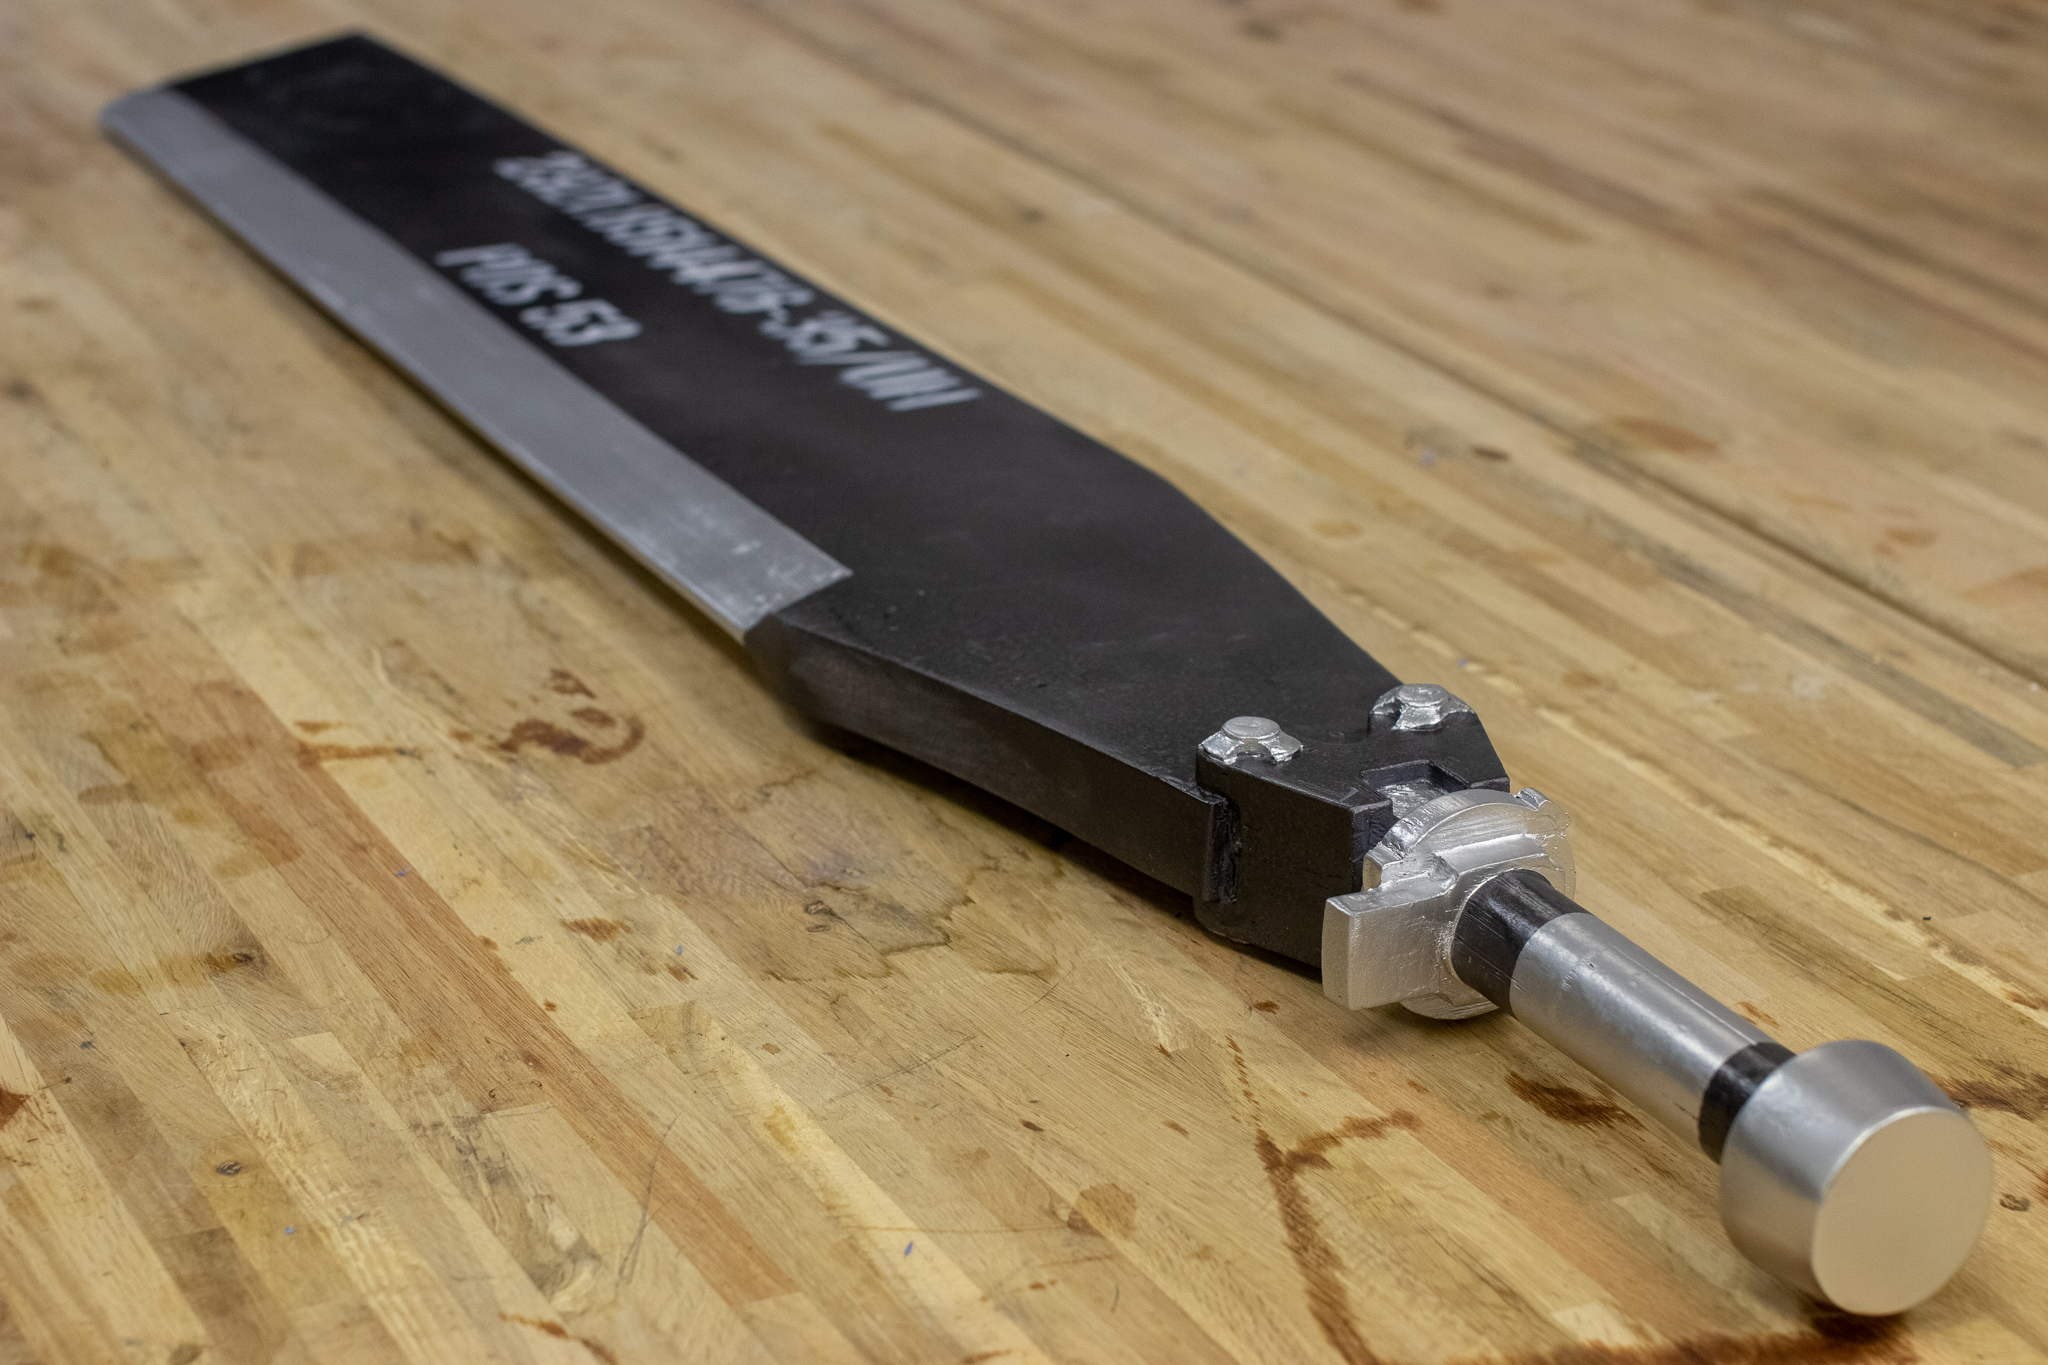
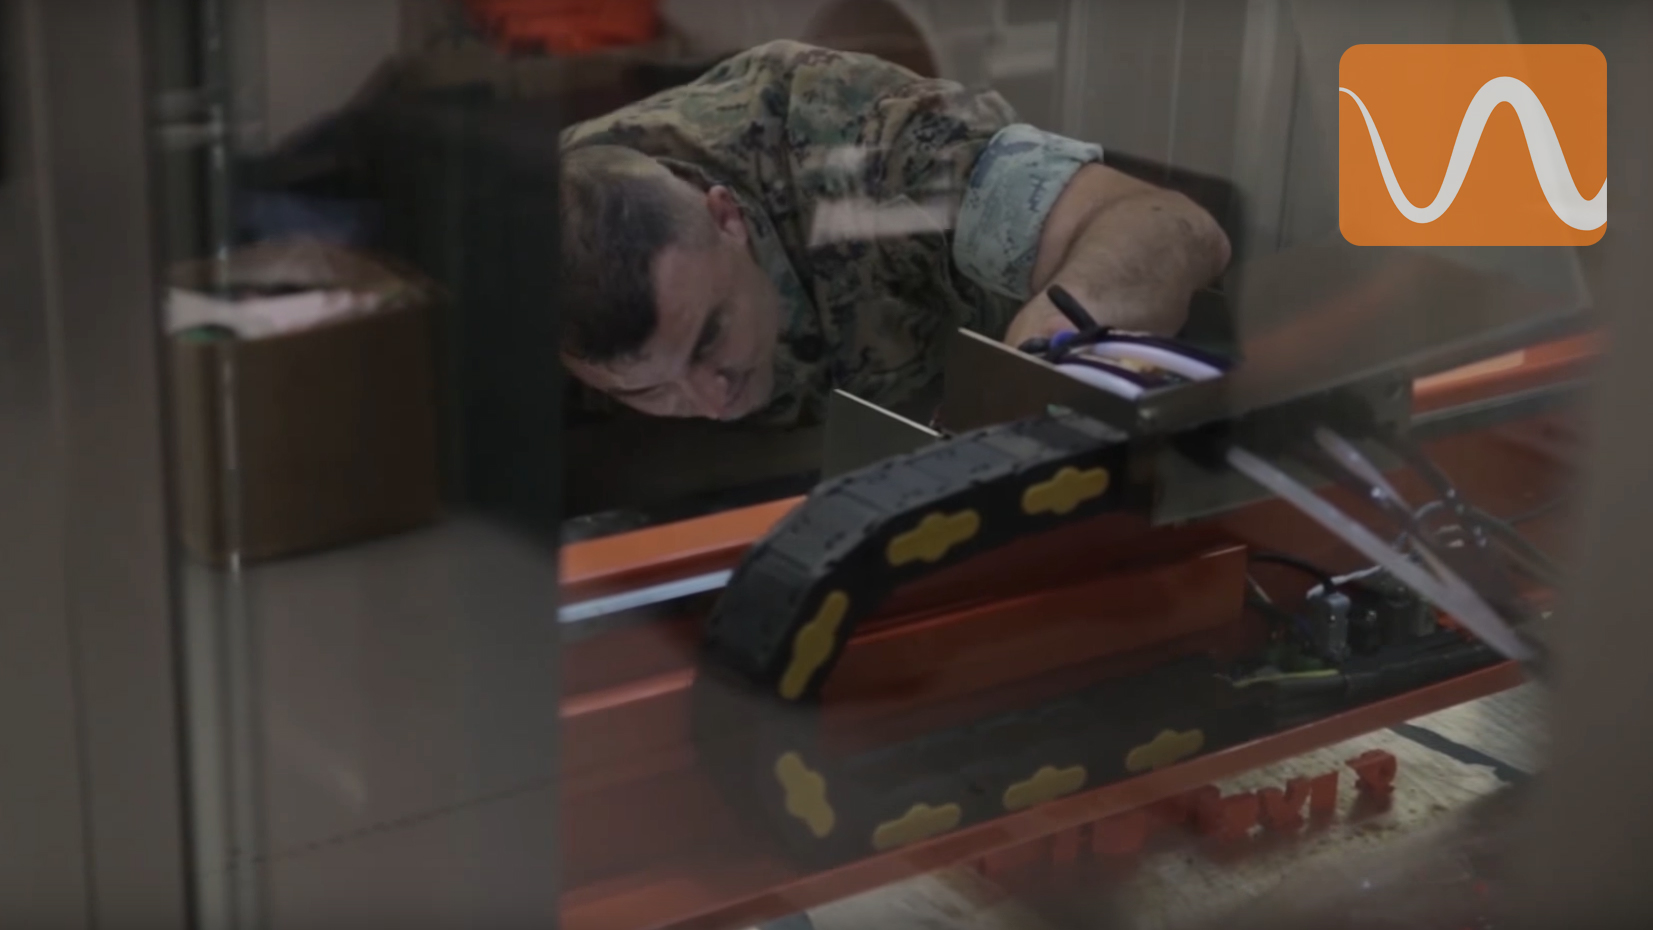
Here is an image of a 3D printed mount like the one in the story, but with one change. What in the past took them 4-5 weeks to acquire, they were able to 3D print in just ONE DAY.

Bracket.jpg

After deploying the AM1 on the latest NATO exercise in Norway, the Marine Corps is very pleased with the results:

'“The AM1 has greatly improved our flexibility in the battlefield, allowing us to have a quick turnaround of parts to keep vehicles and units operational on the roughest environments.”

- Master Srgt McCue

m54mnew2[2].jpg

Edge of Tomorrow Sword

Ever fantasized about wielding your favorite weapon from your favorite movie or TV series? Fortunately enough, we were able to experience that feeling with the helicopter sword from the blockbuster movie, Edge of Tomorrow!

Our first step was to obtain an STL file to import into the AM1. We contacted DmitriyKotlyar, an extremely talented artist that designed the Heli Blade. We will leave you the link to his CG Trader here: https://www.cgtrader.com/3d-models/military/melee/heli-blade-from-edge-of-tomorrow

heli-blade-from-edge-of-tomorrow-3d-model-obj-mtl-stl-sldprt-sldasm-slddrw-ige-igs-iges-stp-bip.jpg

After adding the file into the AM1 Industrial 3D printer, we slice the sword in TWO so we can have the best detail in both faces.

By doing that, we also save precious time and materials in case something went wrong.

80C801A7-EFB1-4D6C-A7D8-38661D2A8F68.jpg

The material that we chose was PC+PBT (polycarbonate + polybutylene terephthalate). This material is as stiff as it is ductile, highly chemical-resistant, with good structural integrity, excellent load-bearing performance, and drop impact resistance (in case our client ... or us… had some watermelon slicing to do). This material is easy to print, but requires a heated build chamber to print in large scale.

IMG_1477.jpeg

We started the print with a 1.0 mm nozzle and a 0.1 mm layer height. We input as a personal touch a honeybee shape filler to make it as lightweight as possible, but also have a high impact distribution and resistance. Basically, we made it wieldable.

Each side took 12 hours to print. Overall, 2 working days in total.

CC1B8DDF-7E43-4194-8DF6-DFC45107F287.jpg

After those two days, we glued each side with Epoxy. This glue is very efficient and widely used for XL or Big 3D printed parts. When its dry, the Epoxy is so strong it’s almost guaranteed it won’t come undone.

Now that we had a unified sword, we sanded down any imperfections. We started with an 80 grid on the flat side, and finished with a 240 grid for a smoother texture and to preserve the details on the hilt.

After all these steps, we just had to do the painting.

We start with a coat of primer to fill any gaps and to ensure that the black paint is going to be well attached to the sword. Then, we wait until the paint has dried and we paint the silver details.

IMG_1599.jpeg

Finally, we 3D printed a stencil, that we sprayed white paint on top of the sword.

When we finished, we thought it would be a great idea to slice a watermelon with it… and FILM IT! Scroll down to watch the whole video!

To be honest, we were not quite sure if the sword would even cut halfway through the watermelon. But to our complete surprise, it sliced ALL THE WAY!

From start to finish, this project was extremely fun and we are really excited to do it again.

Please let us know when you need our help creating your next prop!

If you are interested in buying your own Edge of Tomorrow Sword, Sanded, Primed & Painted 45"(1.14m) it’s only $720!

Web Analytics